Word gives you complete control over how it prints your document. You can either print to a printer or to a file. To print to a file, follow these steps:
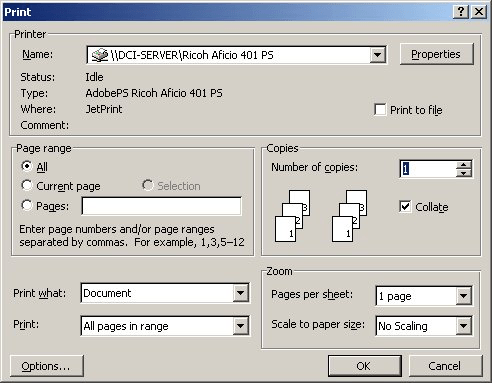
Figure 1. The Print dialog box.
Once the output has been sent to a file, you (or someone else) can later copy the file to the destination printer from the Windows command line by using the copy command. For instance, let's assume that you created an output file called Report.prn. You could later send this file to the printer connected to your parallel port by using the following command at the command prompt:
copy report.prn lpt1:
This command-line syntax will work fine if your printer driver creates ASCII output. (For instance, if you use a PostScript printer driver.) If you use a different printer driver, the output file may actually contain non-ASCII characters. In this instance, you must issue the command line prompt as follows:
copy report.prn lpt1: /b
The addition of the /b switch causes the file to be sent to the printer in binary format, which is required for some types of output files.
As a side note, if you want to produce a print file that you can later load into a text editor (such as Notepad), then you should make sure you are printing using the generic, text-only printer driver.
WordTips is your source for cost-effective Microsoft Word training. (Microsoft Word is the most popular word processing software in the world.) This tip (462) applies to Microsoft Word 97, 2000, 2002, and 2003.

Do More in Less Time! An easy-to-understand guide to the more advanced features available in the Microsoft 365 version of Word. Enhance the quality of your documents and boost productivity in any field with this in-depth resource. Complete your Word-related tasks more efficiently as you unlock lesser-known tools and learn to quickly access the features you need. Check out Microsoft 365 Word For Professionals For Dummies today!
Want your document to print out the same on printers other than your own? This may be an elusive quest, as explained in ...
Discover MoreWhen printing documents under the control of a macro, you may notice that the documents print out of order for some ...
Discover MoreNeed to stop the printing of a long document? Here's how to stop Word, along with why stopping Word may not be the only ...
Discover MoreFREE SERVICE: Get tips like this every week in WordTips, a free productivity newsletter. Enter your address and click "Subscribe."
There are currently no comments for this tip. (Be the first to leave your comment—just use the simple form above!)
Got a version of Word that uses the menu interface (Word 97, Word 2000, Word 2002, or Word 2003)? This site is for you! If you use a later version of Word, visit our WordTips site focusing on the ribbon interface.
Visit the WordTips channel on YouTube

FREE SERVICE: Get tips like this every week in WordTips, a free productivity newsletter. Enter your address and click "Subscribe."
Copyright © 2026 Sharon Parq Associates, Inc.
Comments