Please Note: This article is written for users of the following Microsoft Word versions: 97, 2000, 2002, and 2003. If you are using a later version (Word 2007 or later), this tip may not work for you. For a version of this tip written specifically for later versions of Word, click here: Formatting All Headings At Once.
Suppose you want to apply a particular formatting attribute to all the headings in your document in one fell swoop. If you use four heading levels in your document, and you want to make them all red, you could use Find and Replace to search for all the heading levels, in turn, and change them to red. This gets tedious, of course. You could speed up the process by using a macro, but the macro would still be quite long since you would still need to do four separate Find and Replace operations.
There is a quicker way, however: Do your work in Outline view. When you show only certain heading levels in Outline view, Find and Replace only operates on those particular heading levels. Follow these steps:
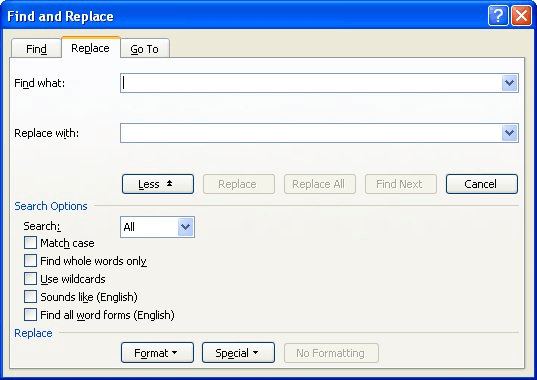
Figure 1. The Replace tab of the Find and Replace dialog box.
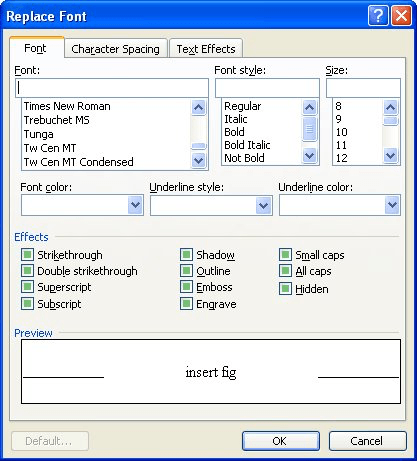
Figure 2. The Replace Font dialog box.
The result of this procedure is that all the headings in the document are changed to red text. This works because Find and Replace only works with whatever is visible when you are working in Outline view. If you didn't use Find and Replace, but instead selected the whole document (Ctrl+A) and changed the font to red, Word would make the changes in everything you see and everything that is hidden. Using Find and Replace, instead, results in only the visible text being modified.
WordTips is your source for cost-effective Microsoft Word training. (Microsoft Word is the most popular word processing software in the world.) This tip (48) applies to Microsoft Word 97, 2000, 2002, and 2003. You can find a version of this tip for the ribbon interface of Word (Word 2007 and later) here: Formatting All Headings At Once.

The First and Last Word on Word! Bestselling For Dummies author Dan Gookin puts his usual fun and friendly candor back to work to show you how to navigate Word 2019. Spend more time working and less time trying to figure it all out! Check out Word 2019 For Dummies today!
When laying out your document, you may want to use a text box that appears to be positioned over your text, but to be ...
Discover MoreIndenting a paragraph is easy in Word. In fact, the program provides shortcut keys that make it a snap. Indenting from ...
Discover MoreIf you want to have a blank page at the end of a document section, you can insert one manually or you can use the ...
Discover MoreFREE SERVICE: Get tips like this every week in WordTips, a free productivity newsletter. Enter your address and click "Subscribe."
Got a version of Word that uses the menu interface (Word 97, Word 2000, Word 2002, or Word 2003)? This site is for you! If you use a later version of Word, visit our WordTips site focusing on the ribbon interface.
Visit the WordTips channel on YouTube

FREE SERVICE: Get tips like this every week in WordTips, a free productivity newsletter. Enter your address and click "Subscribe."
Copyright © 2026 Sharon Parq Associates, Inc.
 Please Note:
This article is written for users of the following Microsoft Word versions: 97, 2000, 2002, and 2003. If you are using a later version (Word 2007 or later), this tip may not work for you. For a version of this tip written specifically for later versions of Word, click here:
Please Note:
This article is written for users of the following Microsoft Word versions: 97, 2000, 2002, and 2003. If you are using a later version (Word 2007 or later), this tip may not work for you. For a version of this tip written specifically for later versions of Word, click here:
Comments