Please Note: This article is written for users of the following Microsoft Word versions: 97, 2000, 2002, and 2003. If you are using a later version (Word 2007 or later), this tip may not work for you. For a version of this tip written specifically for later versions of Word, click here: Printing Post Office Permits on Envelopes.

Printing Post Office Permits on Envelopes

Written by Allen Wyatt (last updated February 19, 2022)
This tip applies to Word 97, 2000, 2002, and 2003


It is not uncommon for people who do lots of mailing to purchase a bulk-mail permit from the Post Office. You pay the local Post Office an annual fee, and they grant you a permit number that you can use for your mailings, in lieu of stamps. (You still have to pay them, of course. You just don't need to put a stamp on each piece you want to mail.)

With the permit in hand, it is normal to print the permit number in the upper right corner of the envelope, where the stamp is normally located. The verbiage is typically something like "US Postage Paid St. Louis, MO Permit No. 555." The exact wording can vary, depending on what you are mailing and the exact type of permit you are using.

You can either place the permit text within a text box, or you can create a graphic that contains the permit text. The text box or graphic can then be placed on the envelope you are using. If you are using Mail Merge to create your envelopes, you can place the graphic or text box on the envelope just before the merge, so it will be there on each created document.

If you plan on using a text box to hold your permit information, the following general steps will help in creating the envelopes properly:

  1. Open or create your envelope, as you normally would. If you are intending to do a Mail Merge, create the merge document (your envelope) as normal.
  2. Place a text box in the upper-right corner of the envelope. The size of the text box doesn't matter quite yet; you are aiming for general placement of the text box. (The text box will contain your permit information.)
  3. Right-click the text box. Word displays a Context menu from which you should choose Format Text Box. Word displays the Format Text Box dialog box.
  4. Make sure the Size tab is selected. (See Figure 1.)
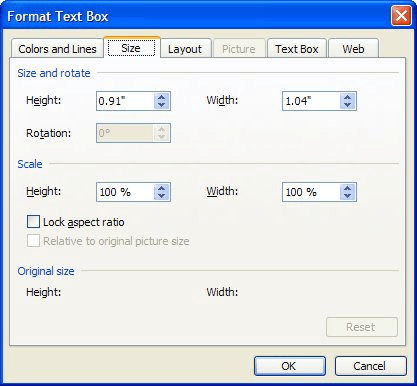
  5. Figure 1. The Size tab of the Format Text Box dialog box.

  6. Set the Height and Width values to the size desired. (Check with the Post Office to see what size they suggest.)
  7. Click on OK.
  8. Place the insertion point within the text box.
  9. Type the required permit text within the text box.
  10. Format the text as desired. (You will probably need to make the font size smaller so the text is completely visible).

That's it! Your placeholder is on your envelope, and you are ready to print. If you want to place a graphic on the envelope instead of a text box, then you can follow these general steps:

  1. Open or create your envelope, as you normally would. If you are intending to do a Mail Merge, create the merge document (your envelope) as normal.
  2. Choose the Picture option from the Insert menu, and then choose From File on the submenu. Word displays the Insert Picture dialog box.
  3. Use the controls in the dialog box to locate and select the graphic you want to use for your permit.
  4. Click the Insert button. The graphic appears on your envelope.
  5. Right-click on the graphic and choose Format Picture from the Context menu. Word displays the Format Picture dialog box; make sure the Size tab is selected. (See Figure 2.)
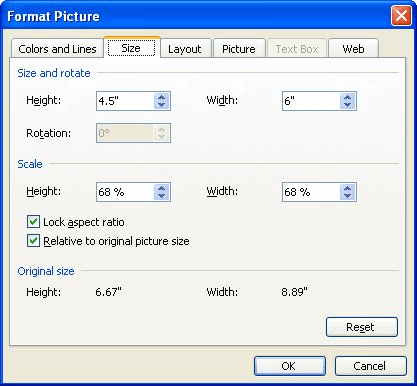
  6. Figure 2. The Size tab of the Format Picture dialog box.

  7. Change the graphic's size to whatever is appropriate for your needs.
  8. Click on OK.
  9. Click on the graphic and drag it to the desired position on the envelope.

You should now be able to print your envelopes (or do your Mail Merge) as desired.

WordTips is your source for cost-effective Microsoft Word training. (Microsoft Word is the most popular word processing software in the world.) This tip (1895) applies to Microsoft Word 97, 2000, 2002, and 2003. You can find a version of this tip for the ribbon interface of Word (Word 2007 and later) here: Printing Post Office Permits on Envelopes.

Author Bio

Allen Wyatt

With more than 50 non-fiction books and numerous magazine articles to his credit, Allen Wyatt is an internationally recognized author. He is president of Sharon Parq Associates, a computer and publishing services company. ...

MORE FROM ALLEN

Customized Tables of Contents

Generating a table of contents is easy in Word. Changing how that table of contents looks is also easy, provided you ...

Discover More

Copying a Range of Pages in a Macro

Do you need to copy, within a macro, a range of pages? Because pages can be so fluid in Word, this can be a bit tricky. ...

Discover More

Aligning Paragraphs in a Macro

Using a macro to format your document (or portions of your document) is not all that uncommon. If you want your macro to ...

Discover More

Do More in Less Time! Are you ready to harness the full power of Word 2013 to create professional documents? In this comprehensive guide you'll learn the skills and techniques for efficiently building the documents you need for your professional and your personal life. Check out Word 2013 In Depth today!

More WordTips (menu)

Setting the Return Address Used in Word

When you create envelopes with Word, it normally displays a return address by default. If you can't get Word to retain ...

Discover More

Placeholders for Stamps

Got a reply envelope you want to create? Why not put a placeholder for the stamp on the envelope? It's easy to do if you ...

Discover More

Adding Text to an Envelope

Need to customize the way that Word prints envelopes? There are a couple of approaches you can use, as discussed in this tip.

Discover More
Subscribe

FREE SERVICE: Get tips like this every week in WordTips, a free productivity newsletter. Enter your address and click "Subscribe."

View most recent newsletter.

Comments

If you would like to add an image to your comment (not an avatar, but an image to help in making the point of your comment), include the characters [{fig}] (all 7 characters, in the sequence shown) in your comment text. You’ll be prompted to upload your image when you submit the comment. Maximum image size is 6Mpixels. Images larger than 600px wide or 1000px tall will be reduced. Up to three images may be included in a comment. All images are subject to review. Commenting privileges may be curtailed if inappropriate images are posted.

What is nine minus 5?

There are currently no comments for this tip. (Be the first to leave your comment—just use the simple form above!)


This Site

Got a version of Word that uses the menu interface (Word 97, Word 2000, Word 2002, or Word 2003)? This site is for you! If you use a later version of Word, visit our WordTips site focusing on the ribbon interface.

Videos
Subscribe

FREE SERVICE: Get tips like this every week in WordTips, a free productivity newsletter. Enter your address and click "Subscribe."

(Your e-mail address is not shared with anyone, ever.)

View the most recent newsletter.