Please Note: This article is written for users of the following Microsoft Word versions: 97, 2000, 2002, and 2003. If you are using a later version (Word 2007 or later), this tip may not work for you. For a version of this tip written specifically for later versions of Word, click here: Strikethrough Shortcut Key.
Written by Allen Wyatt (last updated February 18, 2023)
This tip applies to Word 97, 2000, 2002, and 2003
Word provides shortcut key combinations for many different formatting options. One common formatting attribute that does not have such a combination is strikethrough. Most people add it by displaying the Font dialog box and then selecting Strikethrough in the Effects area of the dialog box.
You can define your own shortcut key for strikethrough by customizing Word. All you need to do is follow these steps:
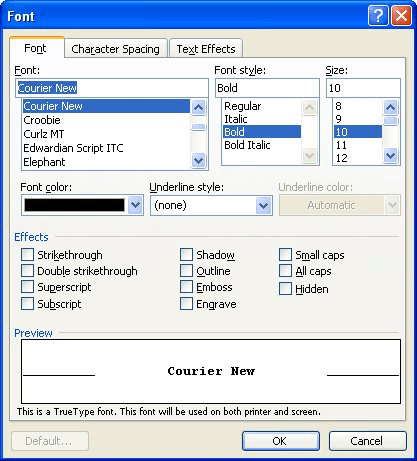
Figure 1. The Font tab of the Font dialog box.
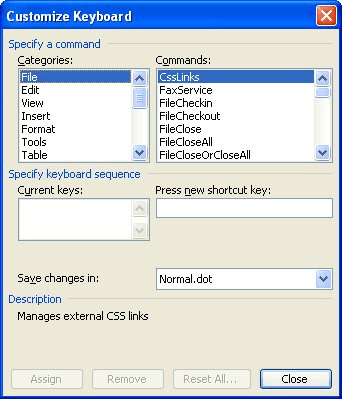
Figure 2. The Customize Keyboard dialog box.
It should be noted that there are a variety of ways that you can display the Customize Keyboard dialog box, which is necessary for the above steps. The method used in these steps was selected because after you complete steps 1 through 3, the Customize Keyboard dialog box is already filled in with the proper settings to invoke the strikethrough formatting. If you use a different method to display the dialog box, you'll need to make the specific settings in that dialog box required to apply strikethrough formatting. (In other words, the above method of invoking the Customize Keyboard dialog box saves you some time when compared to other methods.)
WordTips is your source for cost-effective Microsoft Word training. (Microsoft Word is the most popular word processing software in the world.) This tip (418) applies to Microsoft Word 97, 2000, 2002, and 2003. You can find a version of this tip for the ribbon interface of Word (Word 2007 and later) here: Strikethrough Shortcut Key.

Discover the Power of Microsoft Office This beginner-friendly guide reveals the expert tips and strategies you need to skyrocket your productivity and use Office 365 like a pro. Mastering software like Word, Excel, and PowerPoint is essential to be more efficient and advance your career. Simple lessons guide you through every step, providing the knowledge you need to get started. Check out Microsoft Office 365 For Beginners today!
When you need to change the font size of a text selection, using the shortcut described in this tip is a great technique. ...
Discover MoreWhen you need to adjust the space Word uses between characters, you need to adjust what is called "kerning." This tip ...
Discover MoreWant a cool shortcut to make your text bold? Here's a method that fits in wonderfully with how things are done in the ...
Discover MoreFREE SERVICE: Get tips like this every week in WordTips, a free productivity newsletter. Enter your address and click "Subscribe."
2025-10-08 15:28:37
Hein
This helped me. Thank you
2025-06-24 13:19:42
Kalistra
This worked and so simple. Thank you so much!
2025-05-23 05:55:06
alvin
Thanks, that is useful!
Got a version of Word that uses the menu interface (Word 97, Word 2000, Word 2002, or Word 2003)? This site is for you! If you use a later version of Word, visit our WordTips site focusing on the ribbon interface.
Visit the WordTips channel on YouTube

FREE SERVICE: Get tips like this every week in WordTips, a free productivity newsletter. Enter your address and click "Subscribe."
Copyright © 2025 Sharon Parq Associates, Inc.
 Please Note:
This article is written for users of the following Microsoft Word versions: 97, 2000, 2002, and 2003. If you are using a later version (Word 2007 or later), this tip may not work for you. For a version of this tip written specifically for later versions of Word, click here:
Please Note:
This article is written for users of the following Microsoft Word versions: 97, 2000, 2002, and 2003. If you are using a later version (Word 2007 or later), this tip may not work for you. For a version of this tip written specifically for later versions of Word, click here:
Comments