Please Note: This article is written for users of the following Microsoft Word versions: 97, 2000, 2002, and 2003. If you are using a later version (Word 2007 or later), this tip may not work for you. For a version of this tip written specifically for later versions of Word, click here: Creating a Letterhead Template.

Creating a Letterhead Template

Written by Allen Wyatt (last updated February 8, 2019)
This tip applies to Word 97, 2000, 2002, and 2003


9

One of the common tasks people perform in Word is to write letters. Many companies use preprinted letterhead for the first sheet of a letter, and then regular paper for subsequent sheets. If you do this, you may be wondering about the best way to format a document that can then be used as letterhead template.

The best way to go about this task depends on the orientation of your letterhead. If your letterhead is across the top margin of the first page, then you will take a different approach than if your letterhead is along the entire left margin of the first page.

If your letterhead is across the top margin of the first page, what you essentially need to do is provide a way for the margins to be different on the first page than on subsequent pages of your document. This can be done by using section breaks and setting margins differently in each section, but such an approach can lead to unforeseen problems. The best way is to "play" with the headers in the document to get the spacing you want. Follow these steps:

  1. Determine the margins you want used on a regular (non-letterhead) piece of paper in your letter.
  2. Determine the top margin you want used on the first page, to allow for your letterhead.
  3. Open a new, blank document that will serve as your letterhead template.
  4. Choose Page Setup from the File menu. Word displays the Page Setup dialog box.
  5. Make sure the Margins tab is displayed. (See Figure 1.)
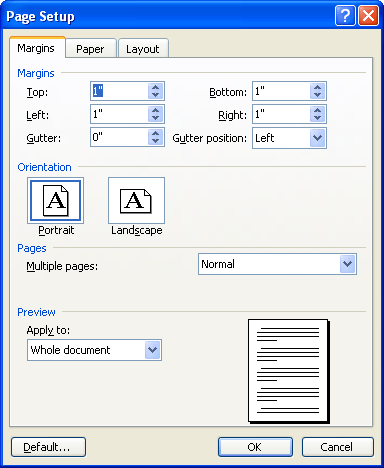
  6. Figure 1. The Margins tab of the Page Setup dialog box.

  7. Change the margin settings to reflect the margins you determined in step 1. (These are the margins for a regular sheet of paper.)
  8. If you are using Word 97 or Word 2000, make sure the Header and Footer locations are smaller than the top and bottom margins you set in step 6.
  9. Display the Layout tab. (See Figure 2.)
  10. Figure 2. The Layout tab of the Page Setup dialog box.

  11. Select the Different First Page check box.
  12. If you are using Word 2002 or Word 2003, make sure the Header and Footer locations are smaller than the top and bottom margins you set in step 6.
  13. Click on OK.
  14. Press Enter enough times that you have two pages in your document.
  15. Press Ctrl+Home to return to the beginning of the document.
  16. Choose Header and Footer from the View menu. Word displays the Header and Footer dialog box, and the insertion point should be located in the header area of the page.
  17. Choose Paragraph from the Format menu. Word displays the Paragraph dialog box. (See Figure 3.)
  18. Figure 3. The Paragraph dialog box.

  19. Refer to the first-page margin you determined in step 2. From this margin, subtract the header location you set in step 7. Assuming the value is in inches, multiply this value by 72 to convert it to points. (For instance, if you determined that you need 3.5 inches in step 2, and the header location in step 7 was .75 inches, then the result of the subtraction is 2.75 inches. Multiply 2.75 by 72, and you come up with 198 points.)
  20. Set the After value equal to the value determined in step 16.
  21. Click on OK.
  22. Delete all the paragraphs you entered in step 12.
  23. Save your document as a template.

You can now use the template as the basis for your future letters, and the letterhead on the first page is automatically compensated for.

If your company's letterhead is oriented along the left margin on the first page (as is the case in many legal firms), then you need to take a different approach to creating the template. Follow these steps, instead:

  1. Determine the margins you want used on a regular (non-letterhead) piece of paper in your letter.
  2. Determine the left margin you want used on the first page, to allow for your letterhead.
  3. Open a new, blank document that will serve as your letterhead template.
  4. Choose Page Setup from the File menu. Word displays the Page Setup dialog box.
  5. Make sure the Margins tab is displayed.
  6. Change the margin settings to reflect the margins you determined in step 1. (These are the margins for a regular sheet of paper.)
  7. If you are using Word 97 or Word 2000, make sure the Header and Footer locations are smaller than the top and bottom margins you set in step 6.
  8. Display the Layout tab.
  9. Select the Different First Page check box.
  10. If you are using Word 2002 or Word 2003, make sure the Header and Footer locations are smaller than the top and bottom margins you set in step 6.
  11. Click on OK.
  12. Press Enter enough times that you have two pages in your document.
  13. Press Ctrl+Home to return to the beginning of the document.
  14. Choose Header and Footer from the View menu. Word displays the Header and Footer dialog box, and the insertion point should be located in the header area of the page.
  15. Choose Text Box from the Insert menu. If necessary, Word switches to Print Layout view, and the mouse pointer changes to a cross hair.
  16. Use the mouse pointer to draw a text box at the left side of the first page, approximating the width of the letterhead and extending from the header area at the top of the page, all the way to the footer area at the bottom.
  17. Right-click on the outline of the text box, then choose Format Text Box from the Context menu. Word displays the Format Text Box dialog box.
  18. Make sure the Colors and Lines tab is displayed. (See Figure 4.)
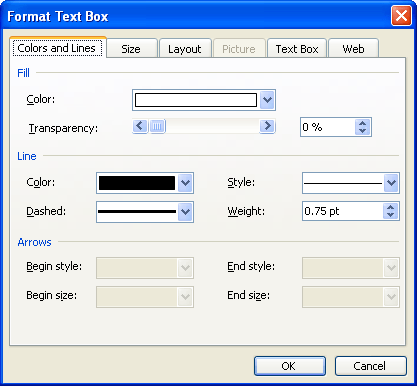
  19. Figure 4. The Colors and Lines tab of the Format Text Box dialog box.

  20. Using the Color drop-down list, choose No Line.
  21. Make sure the Size tab is displayed. (See Figure 5.)
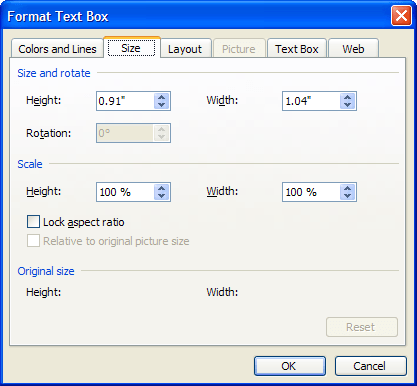
  22. Figure 5. The Size tab of the Format Text Box dialog box.

  23. Set the Width value equal to the margin you determined in step 2.
  24. Make sure the Layout tab is displayed. (See Figure 6.)
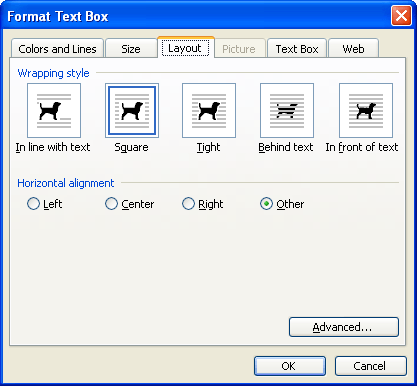
  25. Figure 6. The Layout tab of the Format Text Box dialog box.

  26. Click on Tight and choose the Left horizontal alignment.
  27. Click on the Advanced button. Word displays the Advanced Layout dialog box. (See Figure 7.)
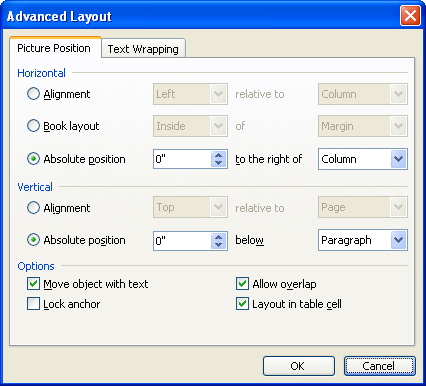
  28. Figure 7. The Advanced Layout dialog box.

  29. In the Horizontal Alignment area, the alignment should be set to Left, relative to the Page.
  30. Click on OK to dismiss the Advanced Layout dialog box.
  31. Click on OK to dismiss the Format Text Box dialog box.
  32. Delete all the paragraphs you entered in step 12.
  33. Save your document as a template.

Since the text box you entered was anchored on the first-page header paragraph, the text box appears only on the first page. The text wraps around it, and your margins appear to return to normal on subsequent pages.

WordTips is your source for cost-effective Microsoft Word training. (Microsoft Word is the most popular word processing software in the world.) This tip (9406) applies to Microsoft Word 97, 2000, 2002, and 2003. You can find a version of this tip for the ribbon interface of Word (Word 2007 and later) here: Creating a Letterhead Template.

Author Bio

Allen Wyatt

With more than 50 non-fiction books and numerous magazine articles to his credit, Allen Wyatt is an internationally recognized author. He is president of Sharon Parq Associates, a computer and publishing services company. ...

MORE FROM ALLEN

Using Named Formulas Across Workbooks

You can use the naming capabilities of Excel to name both ranges and formulas. Accessing that named information in a ...

Discover More

Adding Pop-Up Documentation to a Cell

Want to have a small help screen pop up when a user selects a particular cell? This can be done by using data validation, ...

Discover More

Determining a Value of a Cell

Cells can store all sorts of information that can be formatted and displayed in a myriad of ways. If you want to quickly ...

Discover More

The First and Last Word on Word! Bestselling For Dummies author Dan Gookin puts his usual fun and friendly candor back to work to show you how to navigate Word 2013. Spend more time working and less time trying to figure it all out! Check out Word 2013 For Dummies today!

More WordTips (menu)

Saving a Preview with Your Template

Templates provide a collection of styles and boilerplate for new documents. Selecting the right template by filename only ...

Discover More

Working on Shared Templates

In many companies it is common to have standard templates accessible through the internal network. If you have templates ...

Discover More

Finding Where Templates Are Stored

The first step in modifying templates is to find out where they are stored on your system. Here's the easiest way to ...

Discover More
Subscribe

FREE SERVICE: Get tips like this every week in WordTips, a free productivity newsletter. Enter your address and click "Subscribe."

View most recent newsletter.

Comments

If you would like to add an image to your comment (not an avatar, but an image to help in making the point of your comment), include the characters [{fig}] (all 7 characters, in the sequence shown) in your comment text. You’ll be prompted to upload your image when you submit the comment. Maximum image size is 6Mpixels. Images larger than 600px wide or 1000px tall will be reduced. Up to three images may be included in a comment. All images are subject to review. Commenting privileges may be curtailed if inappropriate images are posted.

What is 8 - 5?

2021-08-29 10:20:23

Bert Howell

I'm using Word 2003 & my normal.dot & .doc templates don't work.
I want start over & create my own .doc templates.

Where do I start & what's involved?

Regards,

Bert Howell


2015-08-12 00:13:37

Yunwe Desmond

Hi,great step,
I would like to know how I can save a template and how to retrieve and use it.
thanks
Desmond


2015-06-10 14:14:25

Ian Bethel

iTech Systems
go beyond


This is my letterhead and slogan. I would like the iTech Systems to be 26 points and go beyond right underneath it, thanks.


2015-02-13 11:19:25

Alexis

Hello, great thinking thru!!


2015-01-07 14:33:01

Deb Peckham

I think Jenny is right on the money with her comment "how to retrieve" the template. I have yet to find out how to retrieve a document directly into a template. I like to use keystrokes rather than using the mouse. It is far faster and more efficient. I cannot even find a keystroke (F-key) for "retrieve document".


2014-10-30 02:29:24

kevin

lost me at step 16, im just going to do my own thing, thanks for nothing


2014-07-09 10:57:53

Gina

Probably should've mentioned that the text that does not move is the letterhead. Only that under the letter head jumps to new page when I start to type on that page. I appreciate all your information.


2014-07-09 10:54:52

Gina

I'm trying to pull in a template from "Open Office" document (old computer), but some the text that used to be fixed moves down a page (or more) when I add text to the current page.


2014-06-22 06:37:06

Jenny

Hi, great step through,
would have liked to see included:
how to save the template,
where it saves,
and how to retrieve and use it.
thanks
Jenny


This Site

Got a version of Word that uses the menu interface (Word 97, Word 2000, Word 2002, or Word 2003)? This site is for you! If you use a later version of Word, visit our WordTips site focusing on the ribbon interface.

Videos
Subscribe

FREE SERVICE: Get tips like this every week in WordTips, a free productivity newsletter. Enter your address and click "Subscribe."

(Your e-mail address is not shared with anyone, ever.)

View the most recent newsletter.