Please Note: This article is written for users of the following Microsoft Word versions: 97, 2000, 2002, and 2003. If you are using a later version (Word 2007 or later), this tip may not work for you. For a version of this tip written specifically for later versions of Word, click here: Getting Rid of Section Breaks, but Not Section Formatting.
Written by Allen Wyatt (last updated October 26, 2023)
This tip applies to Word 97, 2000, 2002, and 2003
Word allows you to format your documents on three general levels: sections, paragraphs, and characters. Of the three, section formatting is often the most confusing formatting for people to understand. Other issues of WordTips detail how you can insert section breaks and apply section formatting.
If you have worked with sections before, you already know that if you delete a section break, the text before the break then adopts the section formatting characteristics of the section after the break. This may be what you want, but it can also be a pain if you want to delete the final section break in a document and you don't want the previous text to lose its section formatting.
Unfortunately, there is no intrinsic way to delete section breaks and maintain the formatting represented by that break. There is a workaround you can use, however:
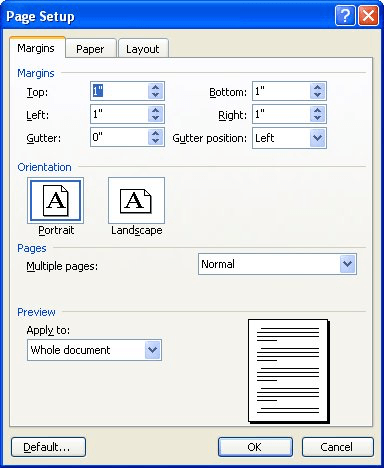
Figure 1. The Page Setup dialog box.
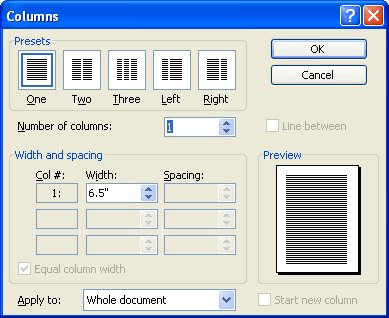
Figure 2. The Columns dialog box.
For more information on this and other issues relating to section breaks, visit this page at the Word MVP site:
https://wordmvp.com/FAQs/Formatting/WorkWithSections.htm
WordTips is your source for cost-effective Microsoft Word training. (Microsoft Word is the most popular word processing software in the world.) This tip (1477) applies to Microsoft Word 97, 2000, 2002, and 2003. You can find a version of this tip for the ribbon interface of Word (Word 2007 and later) here: Getting Rid of Section Breaks, but Not Section Formatting.

The First and Last Word on Word! Bestselling For Dummies author Dan Gookin puts his usual fun and friendly candor back to work to show you how to navigate Word 2019. Spend more time working and less time trying to figure it all out! Check out Word 2019 For Dummies today!
When you allow Word to naturally flow your text through a document, you may find that the text on each page ends at a ...
Discover MoreGetting your document onto paper is the whole purpose of word processing. Here are some concepts that are important when ...
Discover MoreWord allows you to add several types of "breaks" into your document. If you later want to remove any of them, you can use ...
Discover MoreFREE SERVICE: Get tips like this every week in WordTips, a free productivity newsletter. Enter your address and click "Subscribe."
2022-10-26 22:53:19
Thanks. I eventually got this to work after re-activating the F4 key and then using fn+F4.
If others have the same issue see https://support.microsoft.com/en-us/topic/how-do-i-use-the-fn-key-f-lock-key-alternate-command-keys-fccfaf23-38f0-88a8-9b44-a18f24523b79
Is there a hack when creating sections so that others in my organisation will not have to go this process using my templates?
Mine have optional Landscape sections within Portrait templates that users may or may not wish to use? Eg maybe setting up the template and (fake/buffer?) sections so you can delete a section without having to train the organisation to do this complicated procedure?
Interestingly, I am creating Procedure docs templates.
2021-09-20 11:10:18
Mark
If you can't find File - Page Setup, then use Layout - Margins - Custom Margins.
The dialog that pops up is indeed called "Page Setup".
Just like MS to retain functionality, but rename it just to make it a little more obscure :) :D
2020-09-29 17:33:04
Gary R Johnson
thanks Alan fix my problem. I'm so sick of this program.
2020-09-09 09:56:26
Rafael
Thanks for your help!
2020-04-21 10:08:09
Torsten B. Hagemann
That was simply genius - thank you for sharing!
2020-03-24 10:26:54
György
I'm so grateful for this tip! Thank you for sharing! I feel lucky that I did the search quick after 10 minutes of trying...
2020-03-23 03:49:30
Paul
Thanks so much for that.
2020-02-27 04:00:01
Paul Hemsley
Genius!
2020-02-25 21:24:34
Jennifer Wells
SO GRATEFUL--thank you!!! I've spent HOURS trying to figure this out and am so thankful now.
2019-06-03 10:48:36
Nancy
Appreciate your advice, but still struggling with removing a single page number (6! ) from the front section. Is there a service I can pay to do this?
2017-11-07 11:03:10
Lesley
Thank you Allen. This actually worked AND the instructions made sense! I've been trying to sort this out for a couple of days. I pressed the final delete button with trepidation but, hey presto, there it was gone!
2017-05-24 00:50:51
Katie
Thank you SO much! I usually wouldn't ever comment on a blog like this but this just solved a problem I've been struggling with for weeks, and I'm so relieved and thankful right now. The problem was that it was somehow split into two columns instead of one, so as soon as I changed it, it worked and I was able to delete the blank page at the end! Thank you thank you!
2017-05-08 15:59:11
Jocelyn
Thanks!! This trick really helped out!
2017-01-27 09:35:05
Lisa
Thank you so much!!!
2016-10-18 03:29:42
Henry
Thankyou! I had no clue about any of this. I could implement your tip for MS 2010.
2016-10-11 17:44:41
David
Great tip! Thank you. Losing the previous page's formatting after deleting my section break was driving me bonkers and I couldn't remember how to stop it until I read your tip.
Got a version of Word that uses the menu interface (Word 97, Word 2000, Word 2002, or Word 2003)? This site is for you! If you use a later version of Word, visit our WordTips site focusing on the ribbon interface.
Visit the WordTips channel on YouTube

FREE SERVICE: Get tips like this every week in WordTips, a free productivity newsletter. Enter your address and click "Subscribe."
Copyright © 2026 Sharon Parq Associates, Inc.
 Please Note:
This article is written for users of the following Microsoft Word versions: 97, 2000, 2002, and 2003. If you are using a later version (Word 2007 or later), this tip may not work for you. For a version of this tip written specifically for later versions of Word, click here:
Please Note:
This article is written for users of the following Microsoft Word versions: 97, 2000, 2002, and 2003. If you are using a later version (Word 2007 or later), this tip may not work for you. For a version of this tip written specifically for later versions of Word, click here:
Comments