AutoText entries are a great way to help speed up both data entry and data standardization in Word documents. As you create more and more AutoText entries, you may cast about for a way to print a list of those entries. This list could then be used as a "reference guide" to what entries are available on a system.
Word provides a quick way to print AutoText entries: On the Print dialog box choose AutoText Entries in the Print What drop-down list. However, the list that is printed may not be to your liking. (You may want the list formatted differently to meet your specific needs.)
One way to create the type of list you need is to change how you print it. Windows provides a generic print driver that allows you to make a plain-text file from any printout. If you look at the list of printer drivers installed on your system, you may see one called "Generic / Text Only." If you don't, go through the steps to add this printer driver. (The steps you follow depend on the version of Windows you are using; in all versions there should be a generic printer driver available called "Generic / Text Only.")
When you want to create your AutoText reference list, follow these steps:
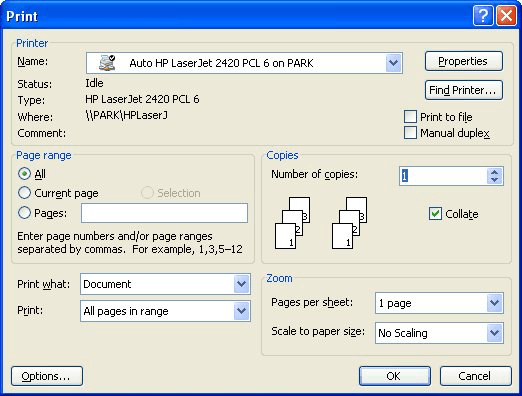
Figure 1. The Print dialog box.
The output file is saved in the location you specified, using the name you specified. The file name extension is PRN. You can load this file into Word or into any other text editor; it is plain text. You can then format it as desired, as you would with any other document. When satisfied with your formatting, you can then print the document to create your reference list.
It should be noted that if you open the PRN file in Word, and you see a bunch of gibberish in the file, you probably didn't follow step 2 in the above steps. Only the Generic / Text Only printer driver will create a plain text file. If you use a different printer driver, the output file includes the codes necessary to control the printer—what you see as gibberish.
There are, of course, ways that you can create your reference list using macros. The following is an example of a macro that will step through all the open templates and construct a document consisting of all the AutoText entries in all those templates.
Sub ListEntries()
    Dim oTemplate As Word.Template
    Dim oEntry As Word.AutoTextEntry
    Dim strReport As String

    For Each oTemplate In Application.Templates
        strReport = strReport & oTemplate.FullName & vbCr
        For Each oEntry In oTemplate.AutoTextEntries
            With oEntry
                strReport = strReport & .Name & vbTab & .Value & vbCr
            End With
        Next
        strReport = strReport & String$(3, vbCr)
    Next
    With Application.Documents.Add.StoryRanges(wdMainTextStory)
        .Text = strReport
    End With
End Sub
This macro is very simple; it could be expanded to perform more complex tasks, such as formatting the information added to the new document.
Note:
WordTips is your source for cost-effective Microsoft Word training. (Microsoft Word is the most popular word processing software in the world.) This tip (5813) applies to Microsoft Word 97, 2000, 2002, and 2003.

Discover the Power of Microsoft Office This beginner-friendly guide reveals the expert tips and strategies you need to skyrocket your productivity and use Office 365 like a pro. Mastering software like Word, Excel, and PowerPoint is essential to be more efficient and advance your career. Simple lessons guide you through every step, providing the knowledge you need to get started. Check out Microsoft Office 365 For Beginners today!
AutoText is a very useful tool. But what if the text you want to use when creating an AutoText entry is protected and you ...
Discover MoreInserting AutoText from a macro can give unwanted results, particularly when it comes to any style that may be stored ...
Discover MoreWant to get more organized with your AutoText entries? Here's how you can take advantage of the organizational features ...
Discover MoreFREE SERVICE: Get tips like this every week in WordTips, a free productivity newsletter. Enter your address and click "Subscribe."
There are currently no comments for this tip. (Be the first to leave your comment—just use the simple form above!)
Got a version of Word that uses the menu interface (Word 97, Word 2000, Word 2002, or Word 2003)? This site is for you! If you use a later version of Word, visit our WordTips site focusing on the ribbon interface.
Visit the WordTips channel on YouTube

FREE SERVICE: Get tips like this every week in WordTips, a free productivity newsletter. Enter your address and click "Subscribe."
Copyright © 2026 Sharon Parq Associates, Inc.
Comments